 Fractaleria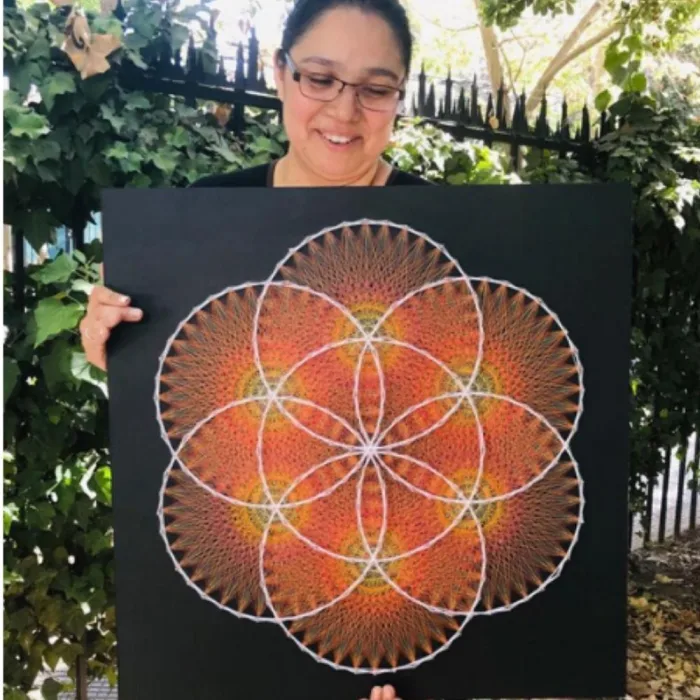
Short answer: get a 30 × 30 cm (12 × 12 in) board, about 100 small nails, a skein of string and a hammer. Print a template, tape it to the board, hammer a nail on every marked point, tear the paper off and start crossing the string following the sequence. One afternoon.
1. Prepare the board
Sand the surface until it is smooth and paint it the background color you want. This step gets skipped a lot and that is a mistake: the background is half of the result, because the string only shows well when it contrasts. Black, off-white or natural wood work with almost anything.
Let it dry completely before you hammer. If you hammer into fresh paint, the nail drags the color with it and leaves an ugly ring around every head.
2. Mark the template
Print the design at the size of the board and hold it down with painter’s tape. Do not use anything stronger: you need to tear it off later without lifting the paint.
If your template has the points numbered, even better. That numbering is what will tell you where the string goes, and it is the difference between moving forward and staring at the board. You can get one from the free string art patterns or build your own in the string art generator.
3. Hammer the nails evenly
This is 80% of the result. Three rules:
- All at the same height. Leave about 10 mm (3/8 in) above the wood. If some sit higher, the string slips off and the piece looks messy.
- All straight. A crooked nail pulls the string to one side and distorts the whole figure.
- No force. Short, repeated taps. Rushing bends nails.
A trick: use a piece of cardboard with a hole in it as a stop, so every nail goes in to the same depth.
4. String it
Tie a knot on the first nail and start following the sequence. The string has to be firm, not strained: if you force it, the nails on the edge lean inward and within a week the piece goes slack on its own.
When you change color, tie off with a double knot at the base of the nail and trim it flush. A tiny drop of glue on the knot keeps it there for good.
5. Finish
Look at the piece against the light: that is where loose strings show. Adjust what needs adjusting, wipe off the dust and screw a hanger onto the back.
The mistake almost everyone makes
Starting with a complicated design. The first piece is not for showing off: it is for your hands to learn the motion of hammering and stringing. Make something simple, finish it, and the second one will already come out twice as good.